I got 3 Tokidoki Moofia blind boxes from Vault of Midnight in Detroit! Want to see what’s inside?
[embedyt] http://www.youtube.com/watch?v=RHp1_aemFms[/embedyt]

Jan 19
I got 3 Tokidoki Moofia blind boxes from Vault of Midnight in Detroit! Want to see what’s inside?
[embedyt] http://www.youtube.com/watch?v=RHp1_aemFms[/embedyt]
Jan 11
[embedyt] http://www.youtube.com/watch?v=Gu6bt6qB0Do[/embedyt]
Music provided by NCS
Song: Ship Wrek – Pain (feat. Mia Vaile)[NCS Release]
Music provided by NoCopyrightSounds.
Video Link: https://youtu.be/UDEpRK8WL_I
Shipwrek
• https://soundcloud.com/theshipwrek
• https://www.facebook.com/theshipwrek
• https://twitter.com/TheShipWrek
• https://www.instagram.com/shipwrekmusic/
Mia Vaile (vocalist)
• https://soundcloud.com/miavaile
• https://www.instagram.com/miavaile/
• https://twitter.com/miavaile
• https://www.facebook.com/miavaile
Sep 07
After closing on the house, we knew we had to get two big projects out of the way before we could move in – the floors, and painting the living room and bedroom. The biggest and longest project was, of course, the floors – it took us three weekends and two weekday evenings to complete, but probably wouldn’t have taken so long if we didn’t spend so much time messing around!
Our first day working on the floors, I got to the house and found this friend on the back door:

I’m pretty sure he got eaten by a bird after we knocked him to the ground. My sheer terror when I first saw him was pretty big though!
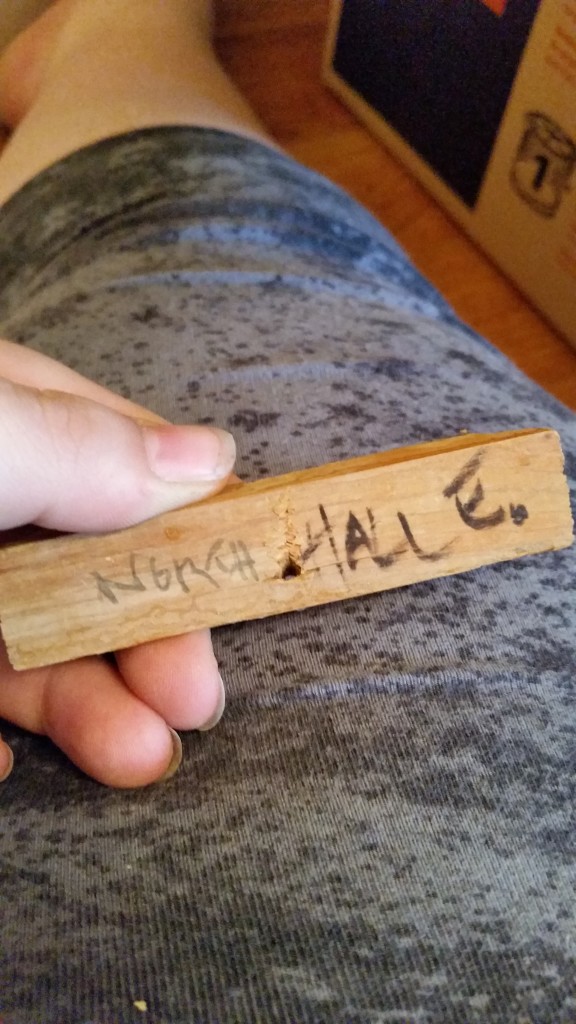
The first thing we did was remove all of the quarter-round in the whole house. Some people remove all of the molding, but we knew that we’d be painting it eventually, so the quarter-round was all we needed to remove. As it turns out, about half of the stuff was labeled, and half of the labeled pieces were in places that they were’t originally in. We saved every piece and labeled everything that wasn’t already labeled – I found this piece on the longest wall in the dining room and giggled because it was about 4 inches long!
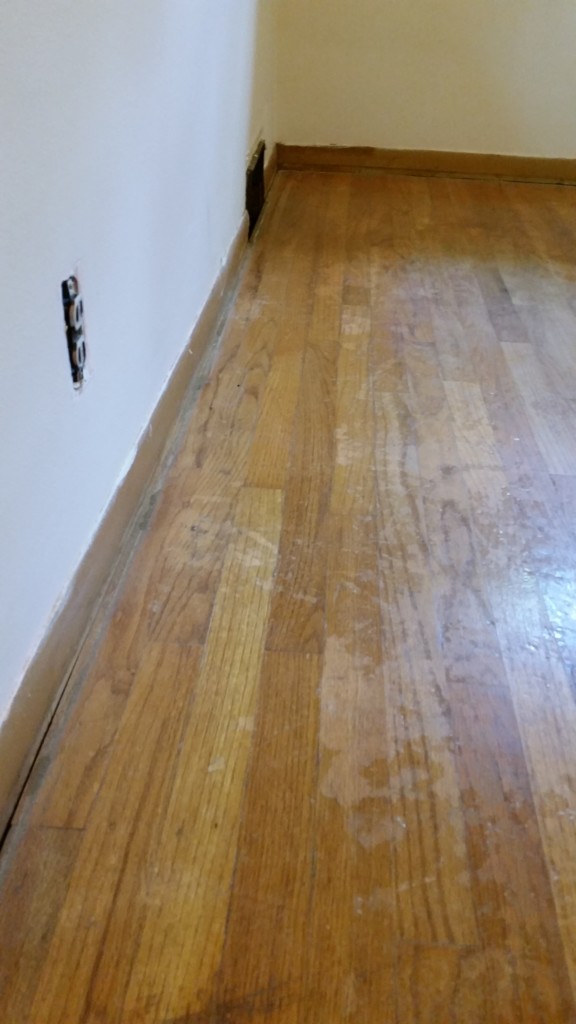
And here’s what they looked like after removing the shoe. I’m sure you can figure out why we decided to re-do the floors. At one point I found myself peeling up the old finish like sunburn! I’m pretty sure whoever did the most recent coat had either not buffed the floor before putting down the finish, or they had put water-based finish over the original oil-based poly that had been put on 60 years ago.
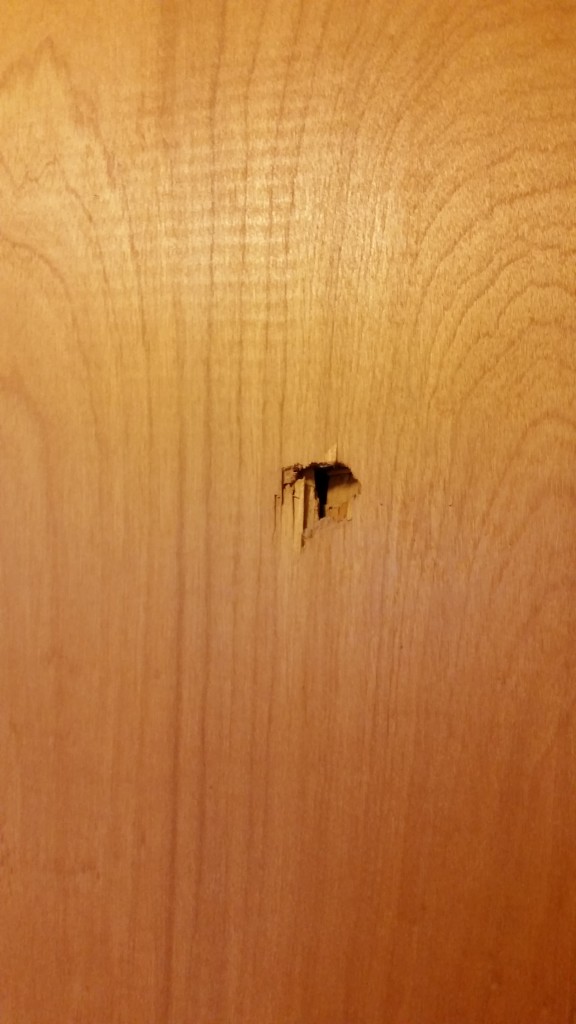
One of the projects that we didn’t even think about was removing the bedroom and closet doors. There were some surprises and stuck doors at one point, but with some effort, and removing the tracks, we got them all removed…

And discovered this on the back of one in the spare room, which explained why they were stuck. One of them had somehow fallen off the upper track and jammed into the one behind it and it was all downhill from there. When we got them unstuck and removed, we were able to solve the problem so it won’t happen again.
Speaking of the bottom “track”, here it is! Two eye screws that sit in a groove cut into the bottom of the doors. I’m pretty sure my entire house was cobbled together by a handyman.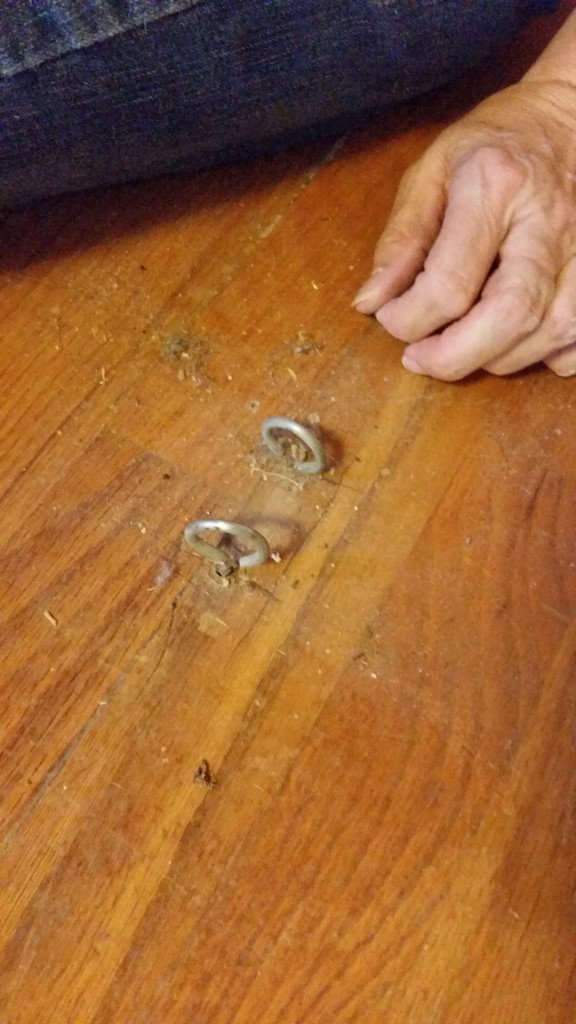
After an entire weekend of removing quarter-round, vents, and doors, it was finally time to become a stripper rent a sander. After watching hours of YouTube videos, I had determined that I was going to rent a square random orbital sander – the cheaper and less aggressive sanding option. I read that it had a few downfalls, but we really just had to take the top layer off, and didn’t have to get all the way down to bare wood. I thought it was going to be a quick (three day) weekend project and we’d be able to move on and paint the whole house. And boy, was I wrong!
When we got to Home Depot (2 hours later than we had intended), they told us that all of the orbital sanders were broken and our only option was the belt sander. The guy told us how to use it, and gave us bad instructions, saying that you could only go backwards, and going forwards would cause it to skip across the floor. While that is the case, if your guy tells you that HE IS WRONG. The sander actually cuts on the front stroke, but you have to pull it back while you push it forward so it doesn’t skip across the floor.
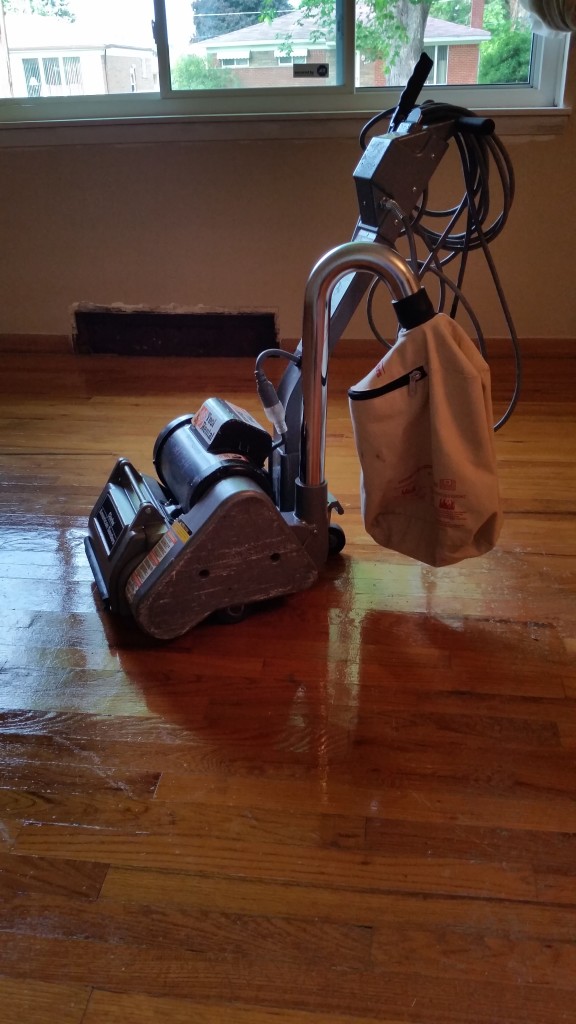
We learned this by trial and error, but after learning what we were doing, we were able to get through the first grit in less than a day. And it was beautiful. The oak floors weren’t perfect, they had some flaws and places that were stained deeply that couldn’t be sanded out. My theory is that the floors have been there as long as the house, and they’re bound to have flaws. The only way to get perfect floors is to buy brand new wood and rip out the old – which I would never do. You’ll never be able to find floors that have this grain and this character in a brand new house, so a few stains and weird spots are someone’s memories.
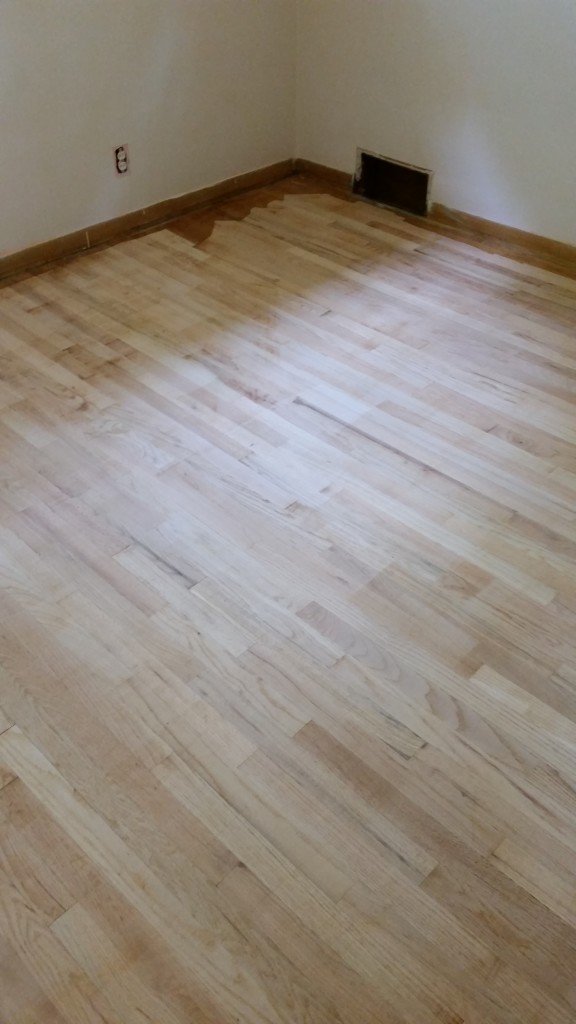
This was nowhere more apparent than in the living room where a carpeter had driven huge nails into the floors about 8 inches apart all the way around the room. I fought it at first, trying to set them in or get the heads off, but after putting in a ton of effort, I realized that it was futile – the wood had become too hard, and the nails were too big, so I just left them.
Stay tuned for part two where we finish the floors and I complain some more about my errors!
Sep 04
I recently received a package of Hemis Fares pasta, a Kroger Stores exclusive product, to review. Please keep in mind that I did receive this product for free, but I was not paid for my review. Even if I was paid for my review, I would still provide an honest review.
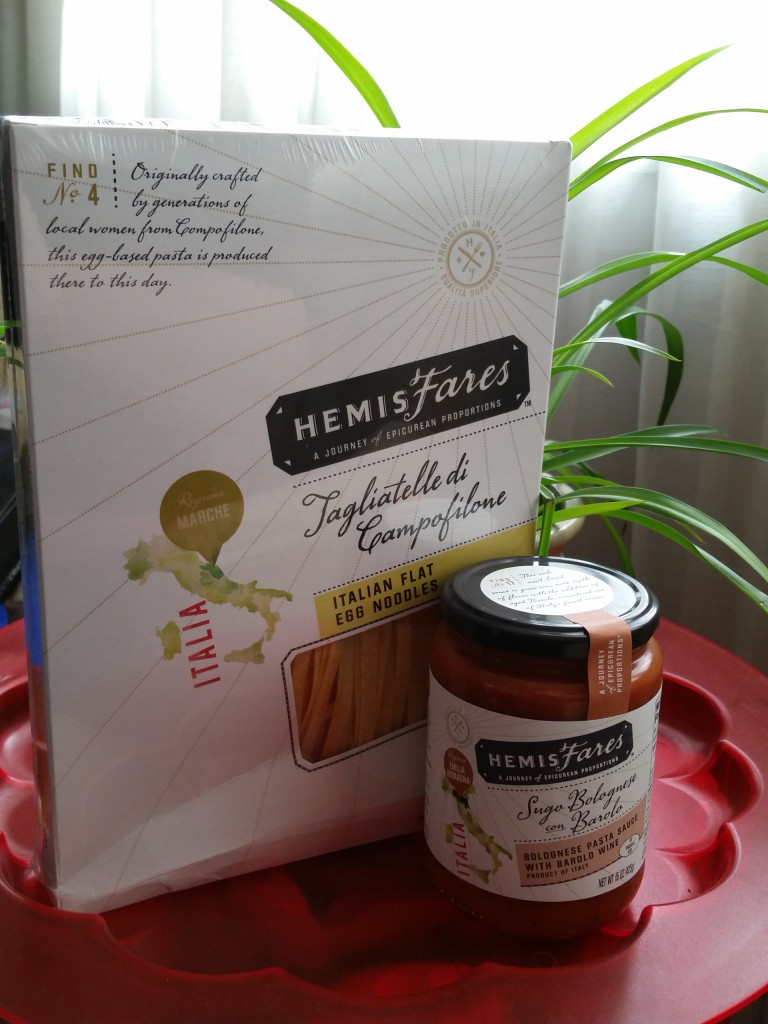
I’m on the fence about this product. The package that I received contained the pasta – flat Italian egg noodles, sauce – Bolognese with Barolo Wine, and coupons for a discount on some olive oil. We are not an olive oil family, so I chose not to purchase, but we did make the pasta, adding ground turkey.
The cooking time on the noodles was amazing! Essentially, you boil the water, dump in the noodles, and then strain them three minutes later. Yes. THREE minutes. I loved that I could cook dinner in less than 10 minutes, which is huge for me. My only gripe is that there was something off on the flavor that I couldn’t quite put my finger on. There was a strange bite to them that I’ve never experienced before.

The sauce, on the other hand, was perfect – not too strong, not too sweet. If only the jar were bigger! You could definitely tell that there was quality behind the tomatoes that were used, and we didn’t feel as though anything else needed to be added. Other than meat, of course! We clearly added way too much since we’re used to making pasta with twice the sauce.
I would buy this sauce again, but I would do so begrudgingly if the jar is the same size.
What else do you think I should review? Have you tried Hemis Fares yet?
Jul 27
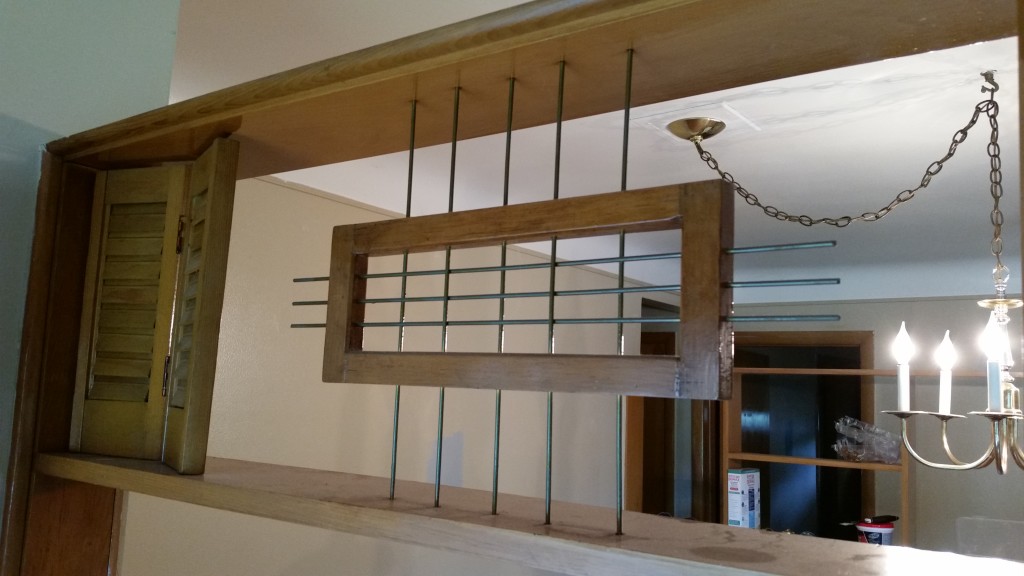
From the moment we walked into the house during our first walkthrough, I knew I needed to get rid of what we came to affectionately name The Fishtank. I’m pretty sure at this point that this strange terrarium thing has been here for all 60 years that the house has been standing, but it just wasn’t working anymore and didn’t quite fit with the theme we’re going for.
Please note that this post contains affiliate links, which means that if you click on one of the product links, I may be compensated.
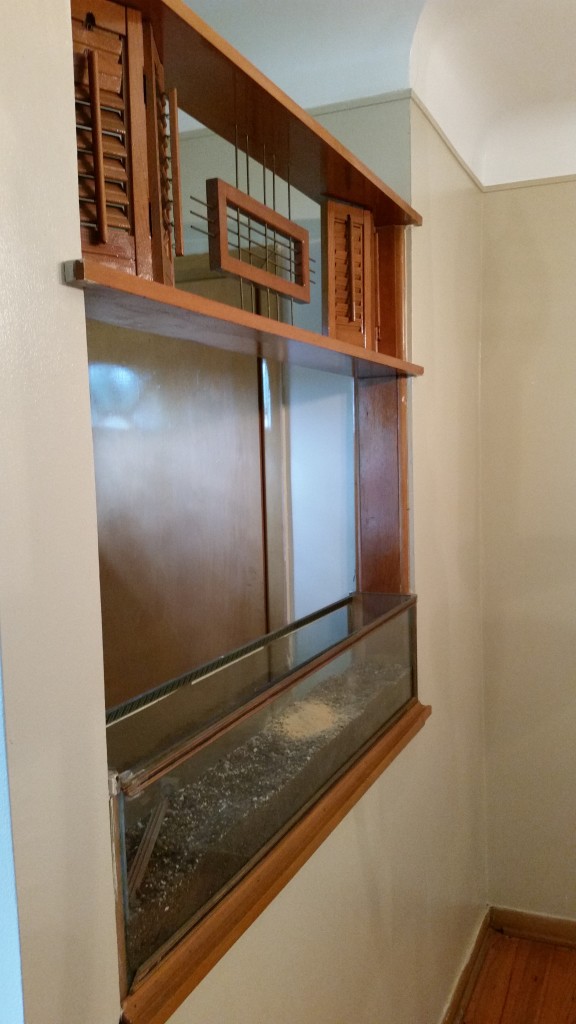
I have no idea who thought it would be a good idea to put this thing in, but it definitely looks like it’s been there for a very long time. I might have been original to the house, since the style is very 50s, but it could have been added in the 70s. Either way, it had to go.
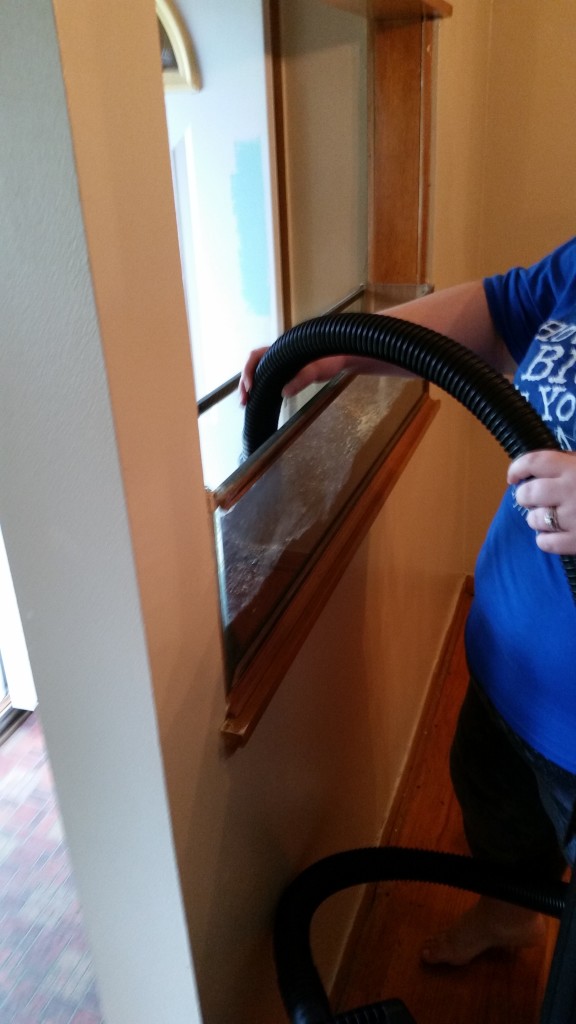
I spent quite a bit of time trying to figure out how to get the dirt out (someone had plants here?) until Husband suggested to just suck it out with the shop vac. It’s brand new, so I could vaccum up the dirt and then dump it in the garden without it mixing with random plaster or floor dirt.
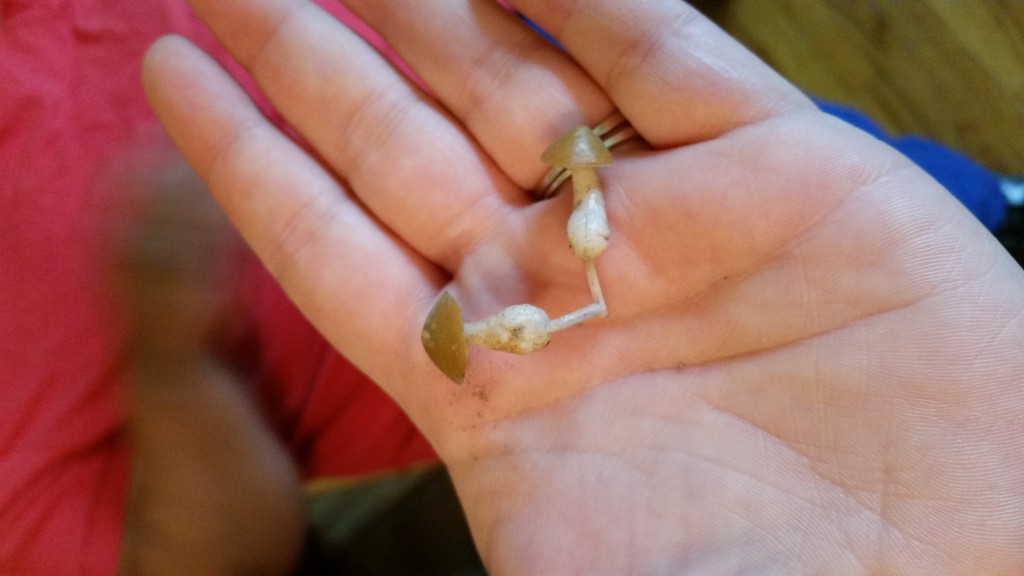
I also found some old-school “decor” buried in the dirt!
After it was all emptied out, we discovered how well-built the thing truly was – you really could have put fish and water in this thing!
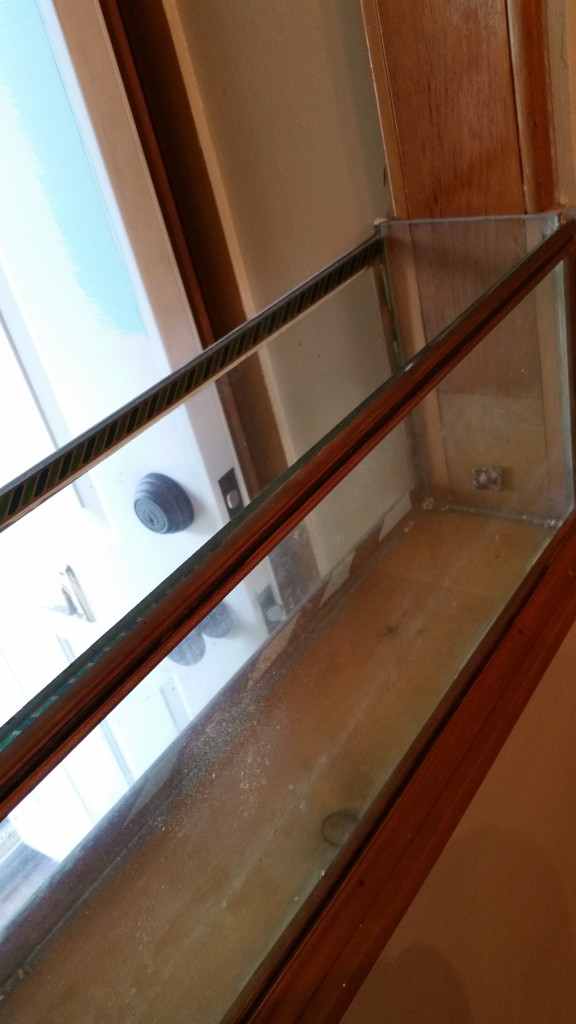
There was a thin layer of clear caulk squished between the wood and glass, and we ended up having to shove the putty knife between the layers to separate them.
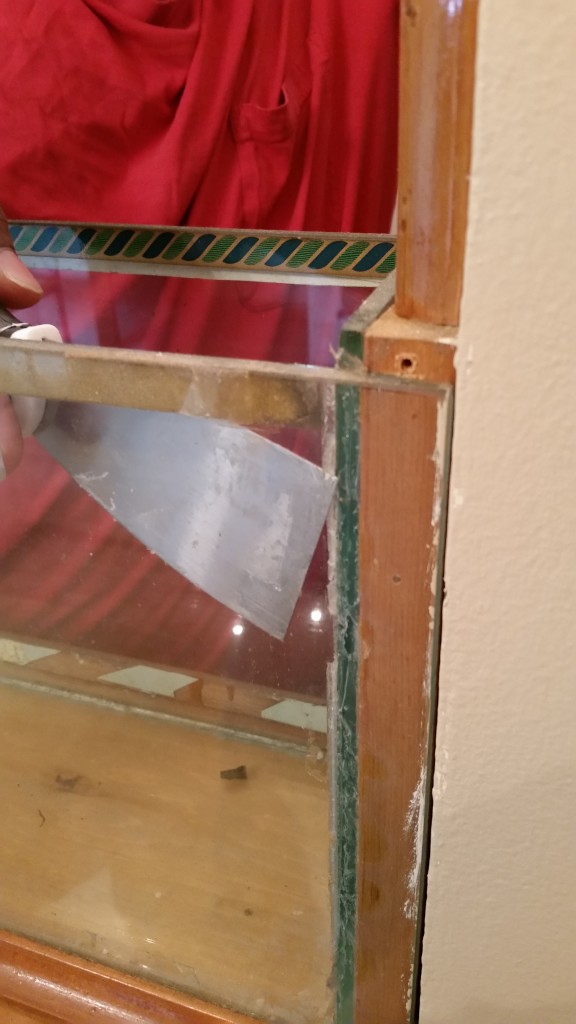
It took quite a bit of effort to pry them apart, and then we had to remove the cove molding from the front (shout out to my Ikea screwdriver!) After all was said and done, we were able to remove one of the long sides, both short sides, and then slide the other long side and bottom out.
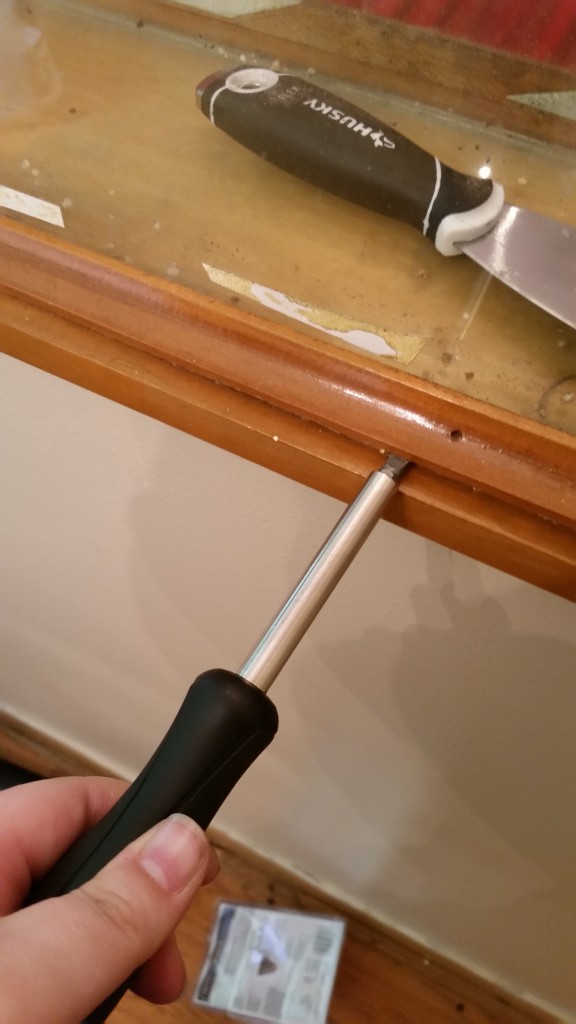
At this point, I got a little excited, so there weren’t a lot of photos taken, but we pretty much just ripped out wood from there. The bottom 1×1 were each held in with one nail each, and we discovered that the quarter round were pressure-fitted in and just kind of fell out when we pulled out the 1×1.
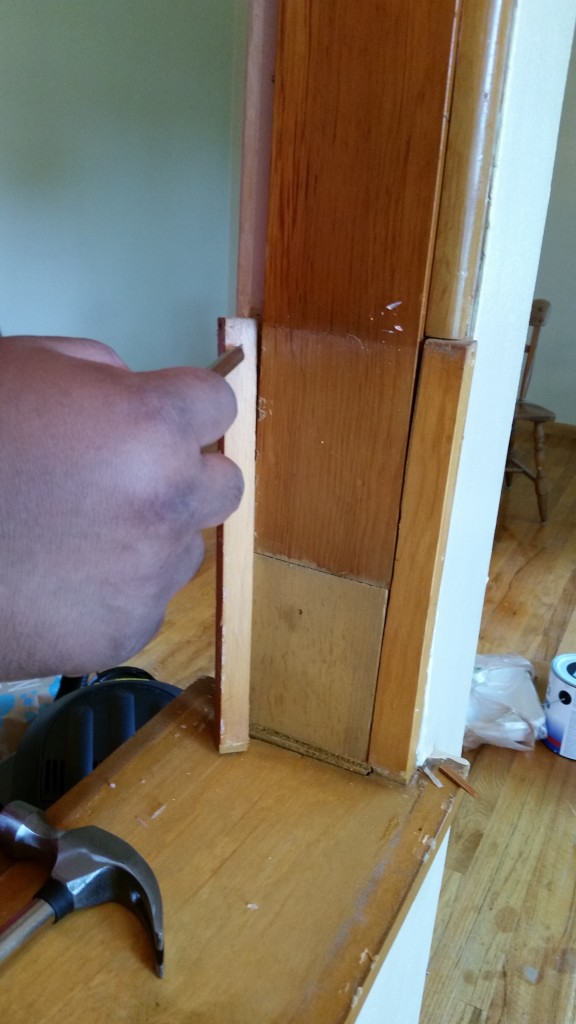
This is about when I realized that I’d be using about a half a tub of spackle to fill the holes in the wall behind everything. It probably didn’t help that whoever installed this thing did a really good job, and the hammer and screwdriver we used to pry everything apart probably didn’t help.
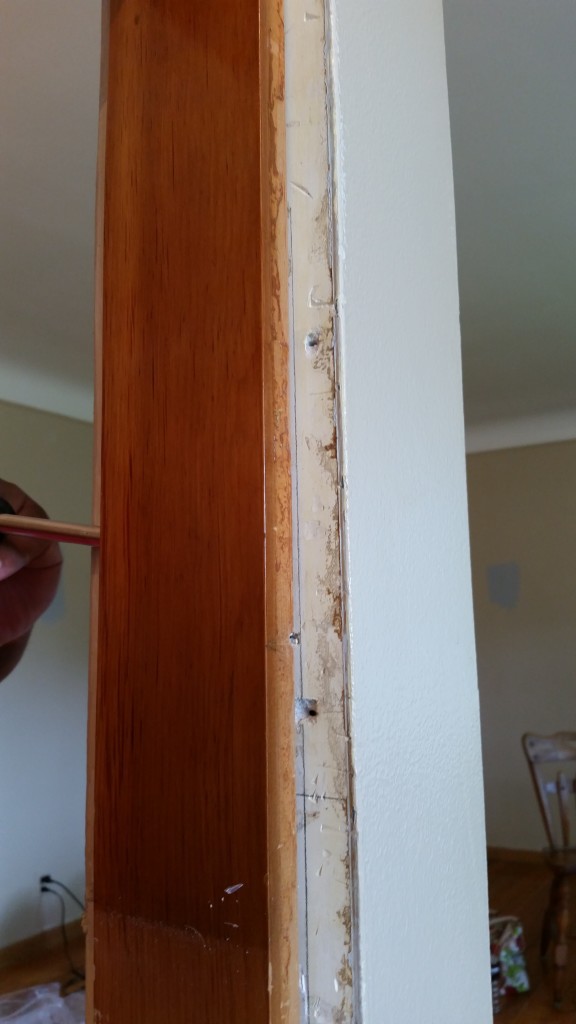
Here’s the destruction on the one side after we took off the big pieces, and before we took off the weird doors and filled the whole thing in with spackle:
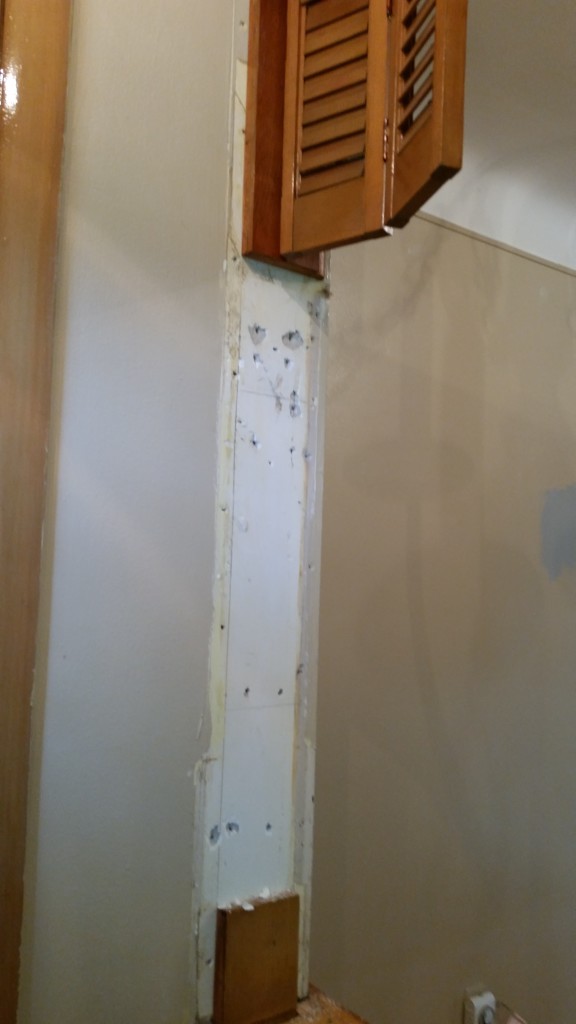
I thing this looks like a panda. My brother thinks it looks like the Joker.
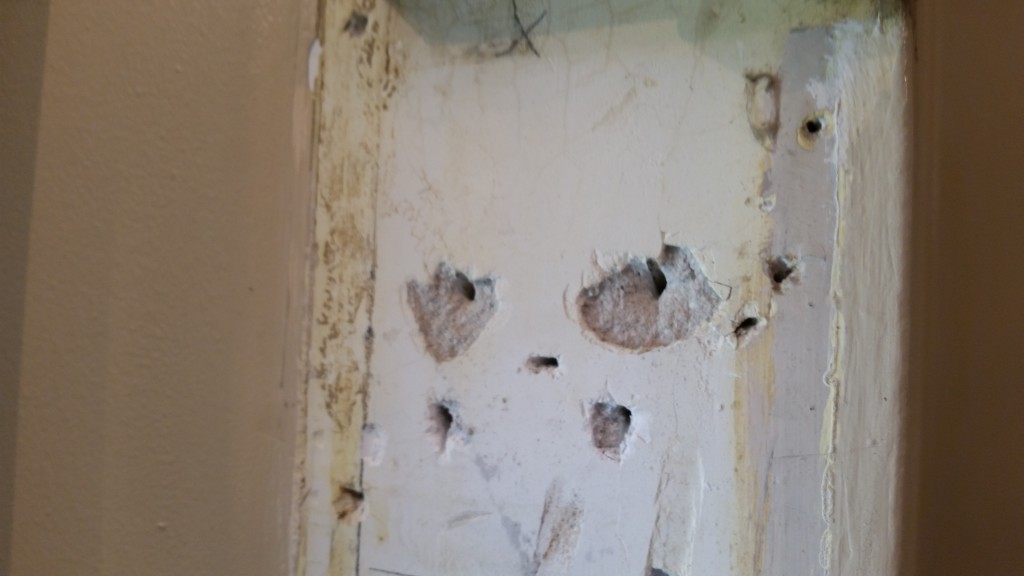
Right now, this is just kind of sitting here spackeled up, waiting to be painted. I didn’t get any pictures of it all spacked because I haven’t been happy with the spackle job. I bought Dap Fast n Final fast drying spackling, and I did’t love it. It splooshes out the sides of the putty knife and gets all over everything, but it doesn’t stick to anything unless you put effort into it, and it’s easy to pick up, so it’s not that bad. I think we’ll be going back to Dap Dry Time Indicator that goes from pink to white as it dries. It was so humid in the house that the Fast n Final had to sit overnight anyway. It might work out a little better if we lived in Arizona instead of Michigan.
Onward!
Jul 20
Now that we’ve closed on our new house, I figured it was time to share what I’ve been working on since we signed our purchase agreement. As I mentioned in my post about buying this house, it’s been a rocky road to where we are now, filled with lots and lots of excitement, and lots and lots of tears. And a little bit of frustrated screaming.
But now we’re here! And it’s time to get down to business to defeat the Huns.
WARNING: This is loooooooooooooooooooooooong. Like super long. I split everything up into tiny tiny chunks so that I don’t get overwhelmed, but you might get overwhelmed reading it. God speed.
Front Yard – 0% complete
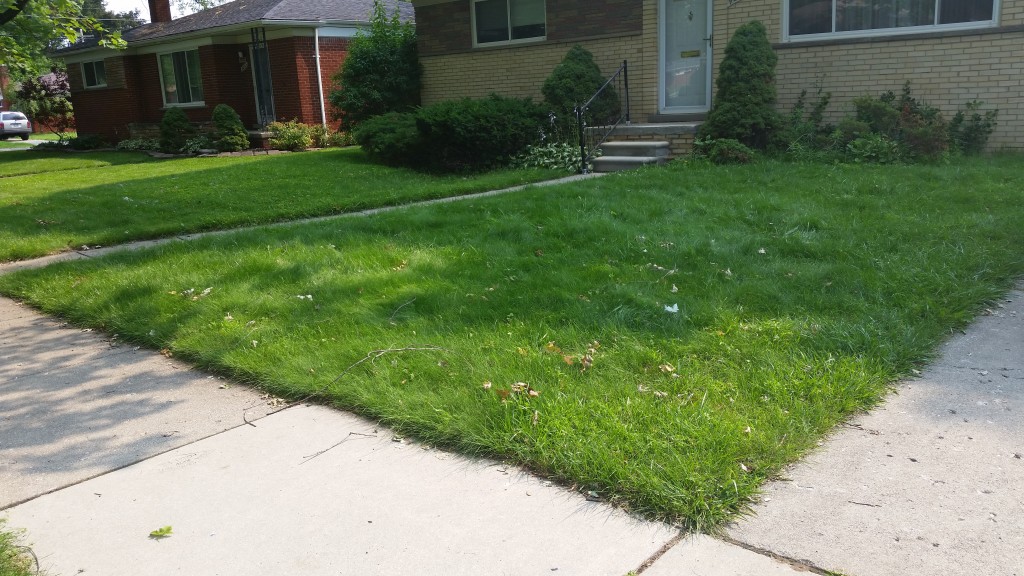
Thatch the lawn
Create raised beds in front of everything
Build a ring of stones around the tree
Plant hostas around the tree
Find plants that bloom at different times of year
Front of House/Front Porch – 0% complete
Paint the front door
Remove the tiny porch and install a real porch
Build a portico over the door
Put in a new light
Driveway – 0% complete
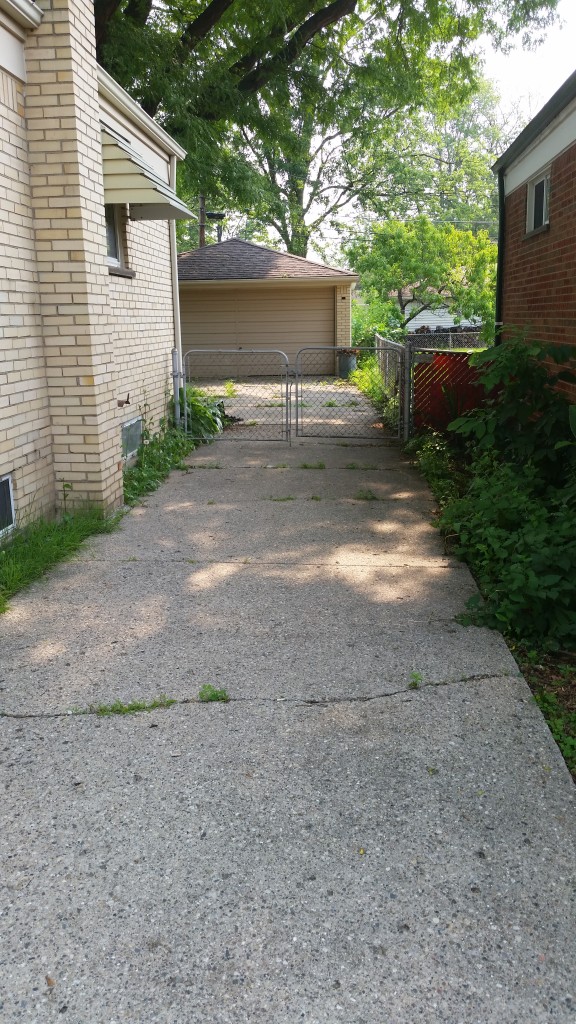
Fix the weird area that’s dipped down
Move the downspouts that are in bad places
Garage – 0% complete
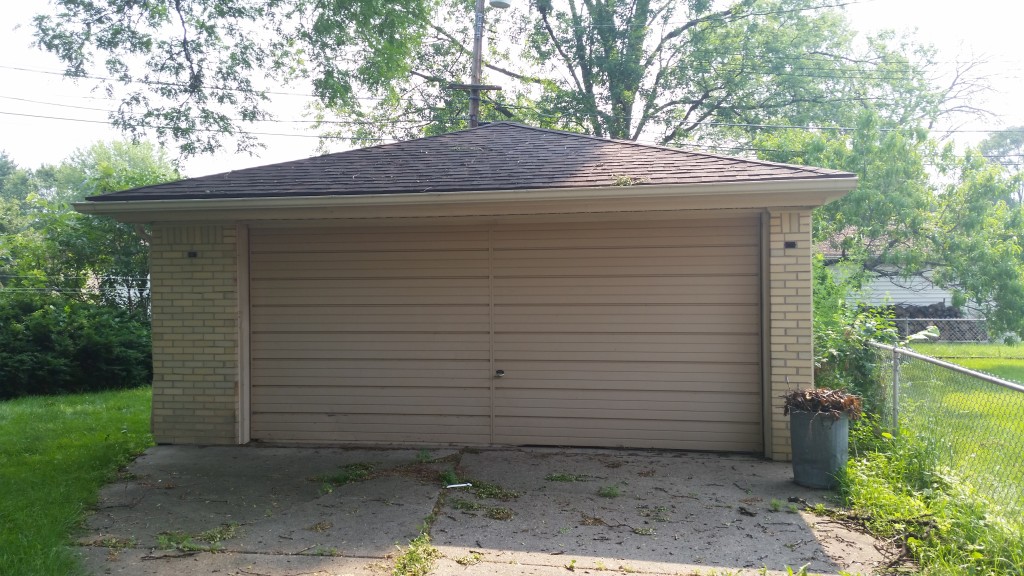
Build a storage shed on the side of the garage
Convert the window into a door
Replace the garage door
Get electricity run to the garage
Install shelving inside the garage
Backyard – 0% complete
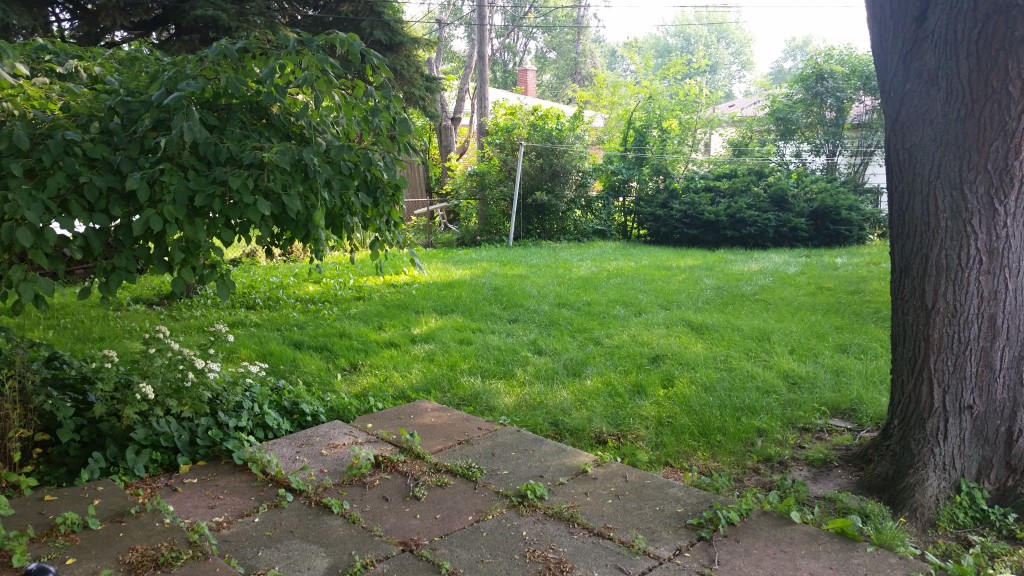
Take out the bush in the back of the yard
Install a privacy fence
Take out the patio and level the yard
Build a deck
Cut down the huge tree that’s too close to the foundation
Build a raised vegetable garden
Find a better location for the clothesline
Whole House Exterior – 0% complete
Install soffit vents
Install security cameras
Living Room – 0% complete
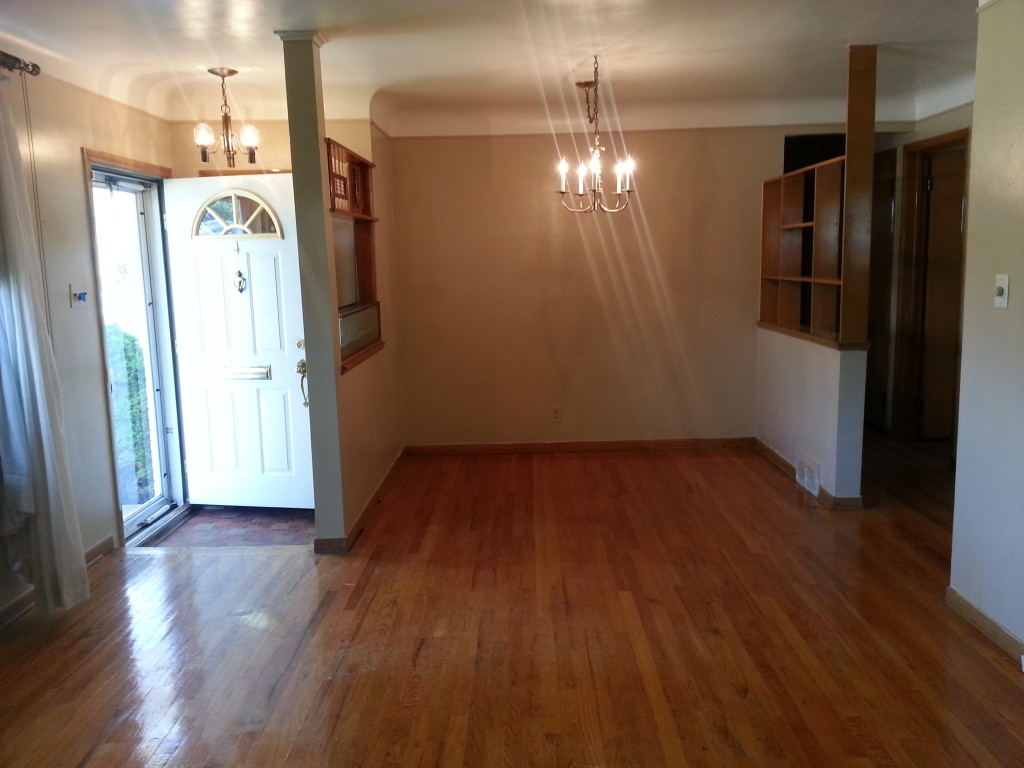
Paint
Remove the weird shutters and aquarium in the entryway
Replace baseboards with something thicker
Trim out the doors and windows
Install a new front door
Replace the deadbolt for more security
Clean up the linoleum in the entry
Build built-ins in the dining room
Refinish floor
Kitchen – 0% complete
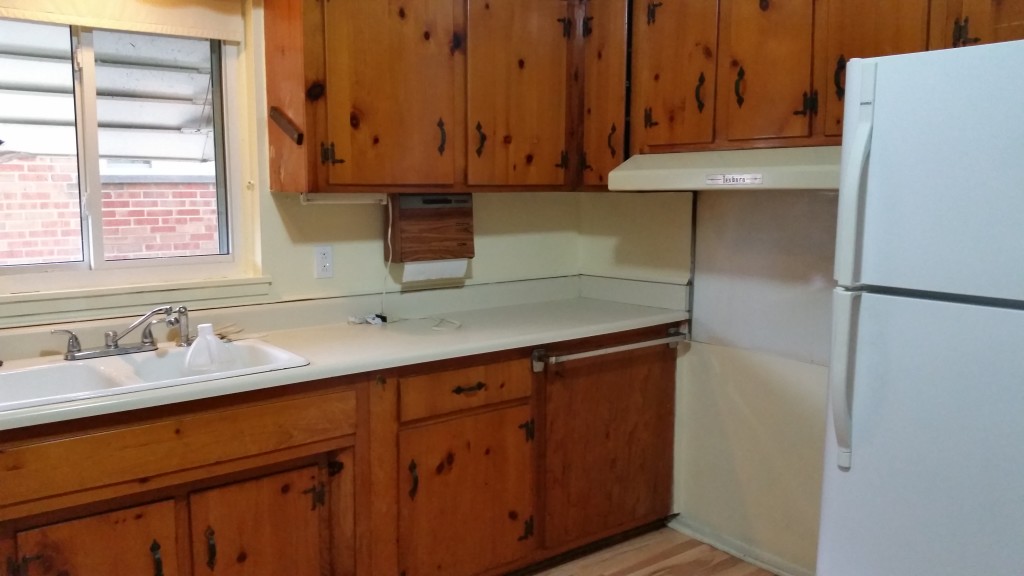
Paint
Replace the back door
Trim out the doors and windows
Remove the weird entry doors
Design a new layout and replace the cabinets
Tile the floor
Install a tile backsplash
Vent the hood to the roof
Get curtains
Upstairs Bathroom – 0% complete
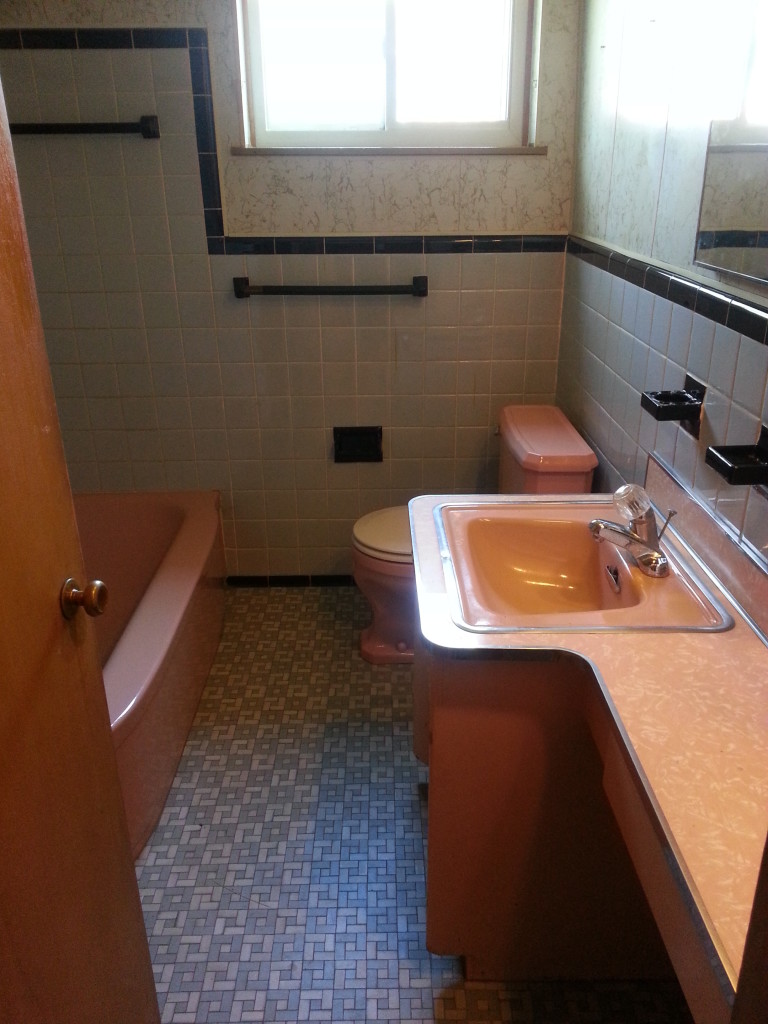
Remove the plastic panels from the walls
Paint
Install a bathroom vent
Replace the vanity
Replace the toilet
Replace the tub
Re-glaze the tile
Craft room – 0% complete
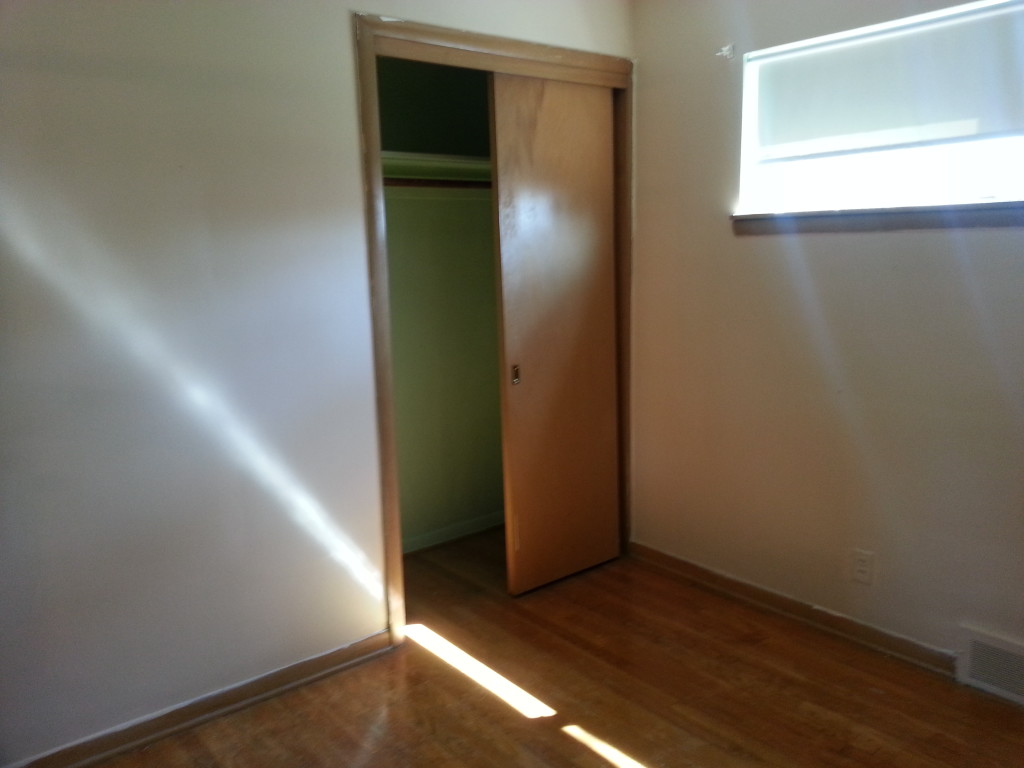
Paint
Install new baseboards
Build craft storage and tables
Replace light fixture
Refinish floors
Curtains!
Install mini blinds
Master Bedroom – 0% complete
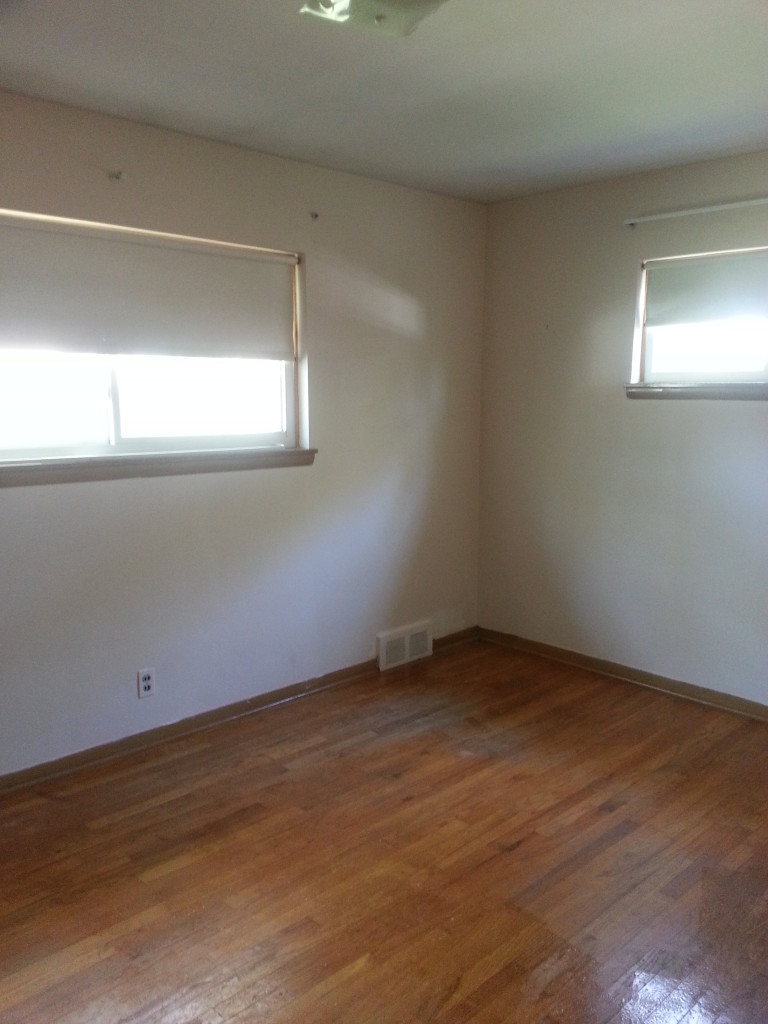
Paint
Install new baseboards
Replace light fixture
Refinish floors
Curtains!
Install mini blinds
Back Bedroom/Guest room – 0% complete
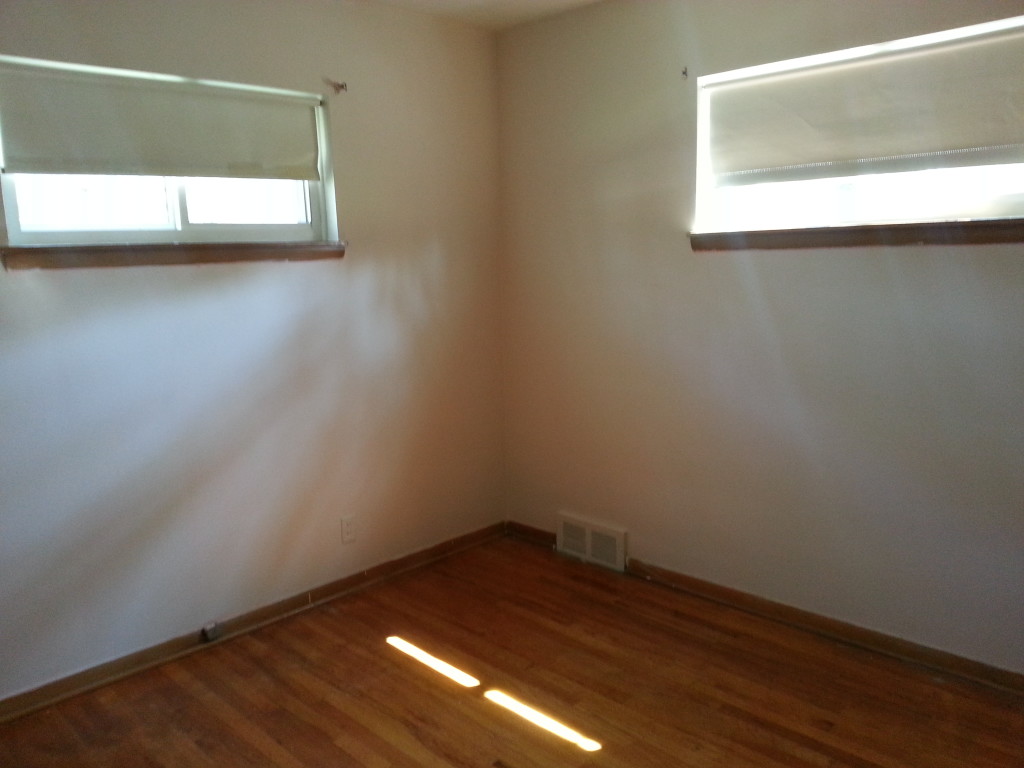
Paint
Install new baseboards
Refinish floors
Replace light fixture
Curtains!
Install mini blinds
Hallway – 0% complete
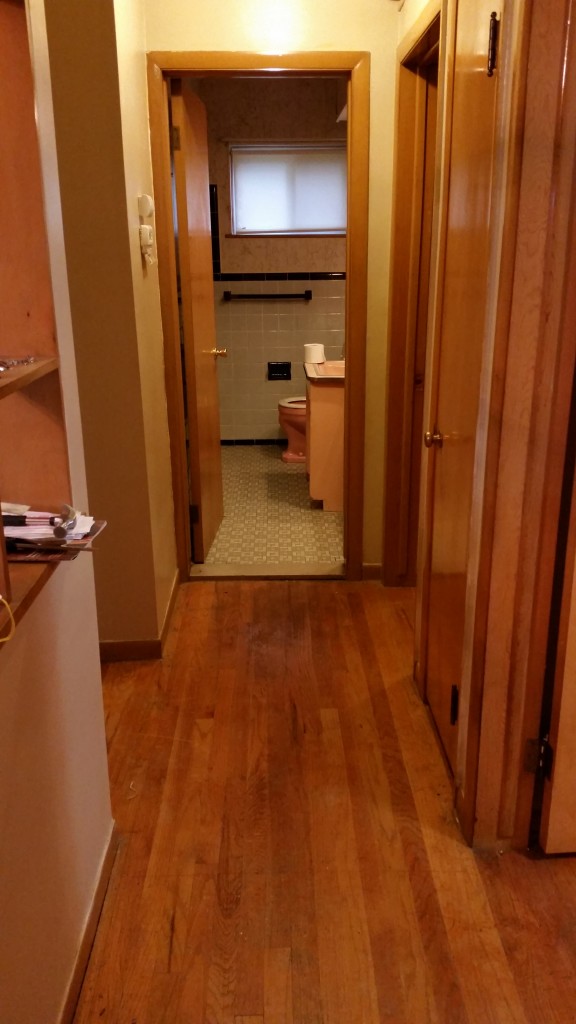
Build a gallery wall
Paint
Refinish floors
Main Basement Area – 0% complete
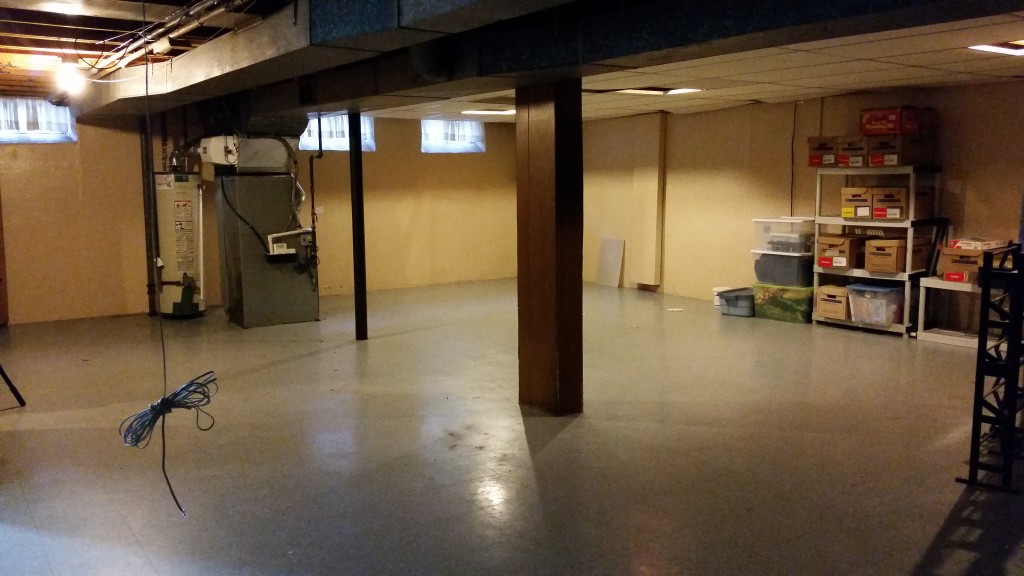
Install a ceiling
Paint
Install new plugs
tear down walls that don’t make sense
Build storage shelves
Relocate the work bench to another wall
Hide the furnace and hot water tank
Paint the fruit cellar
Re-paint the laundry tub
Buy a washer and dryer
Create designated spaces for different areas (workout, laundry, tv)
Basement Bathroom – 0% complete
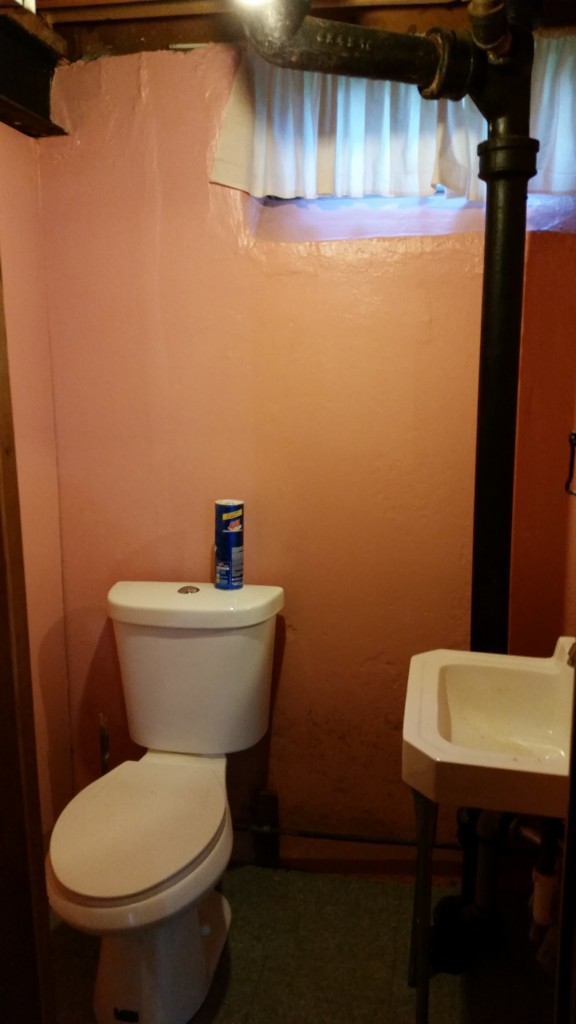
Paint
Install a ceiling
Misc – 0% complete
Replace outlets with grounded plugs
Replace light switches
Replace lightswitch and outlet covers
Replace galvanized pipes with Pex
Jul 13
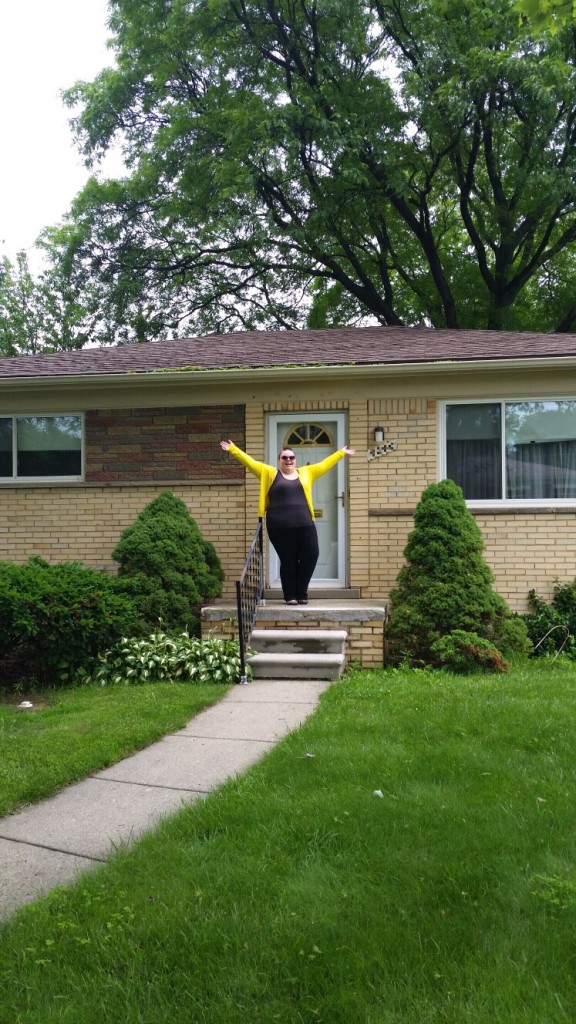
In order to properly chronicle the changes we’ll be making to the house, we of course have to post the before photos, so here they are!
Front of the house:
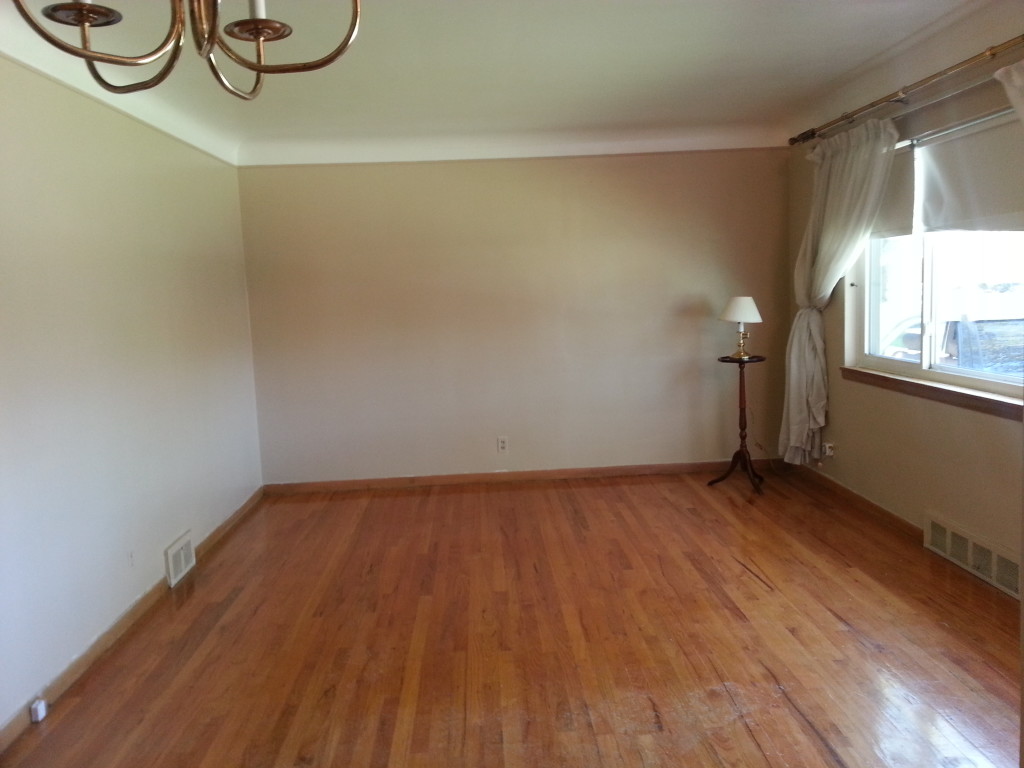
Living and dining room:


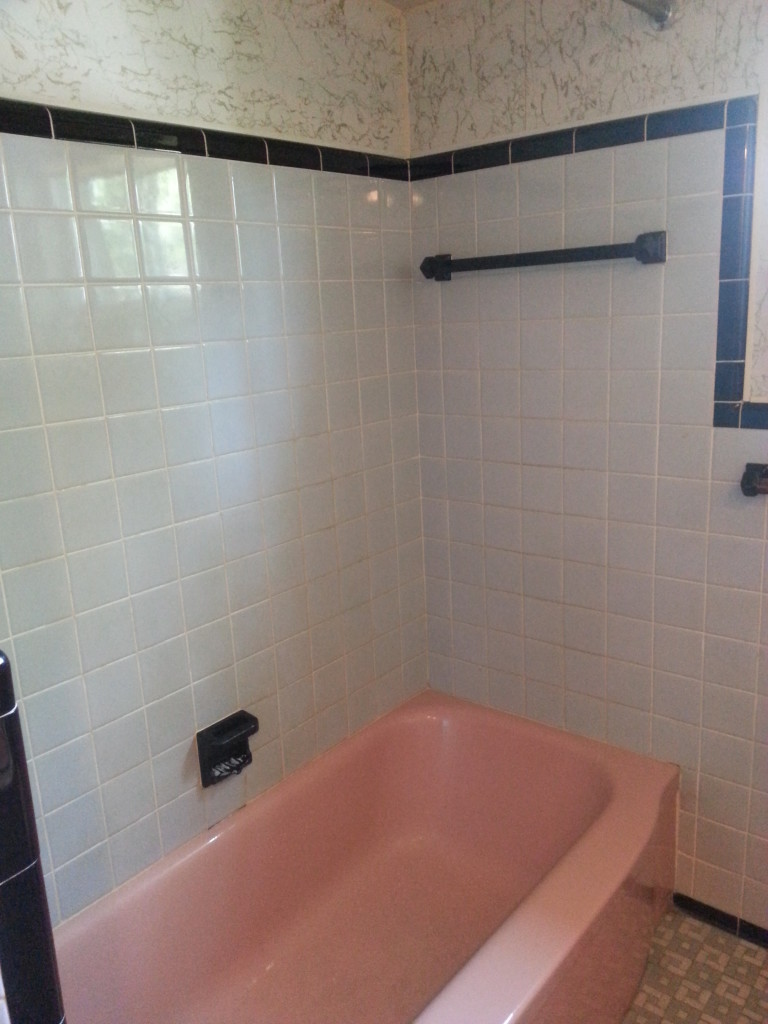
Bathroom:

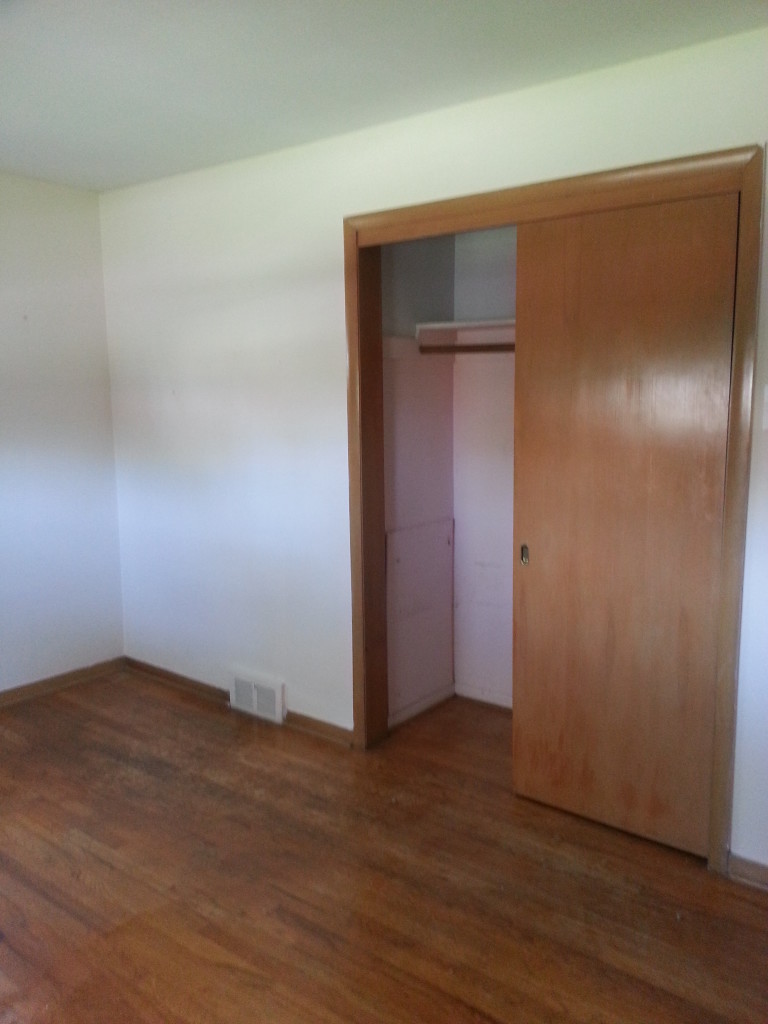
Master bedroom:

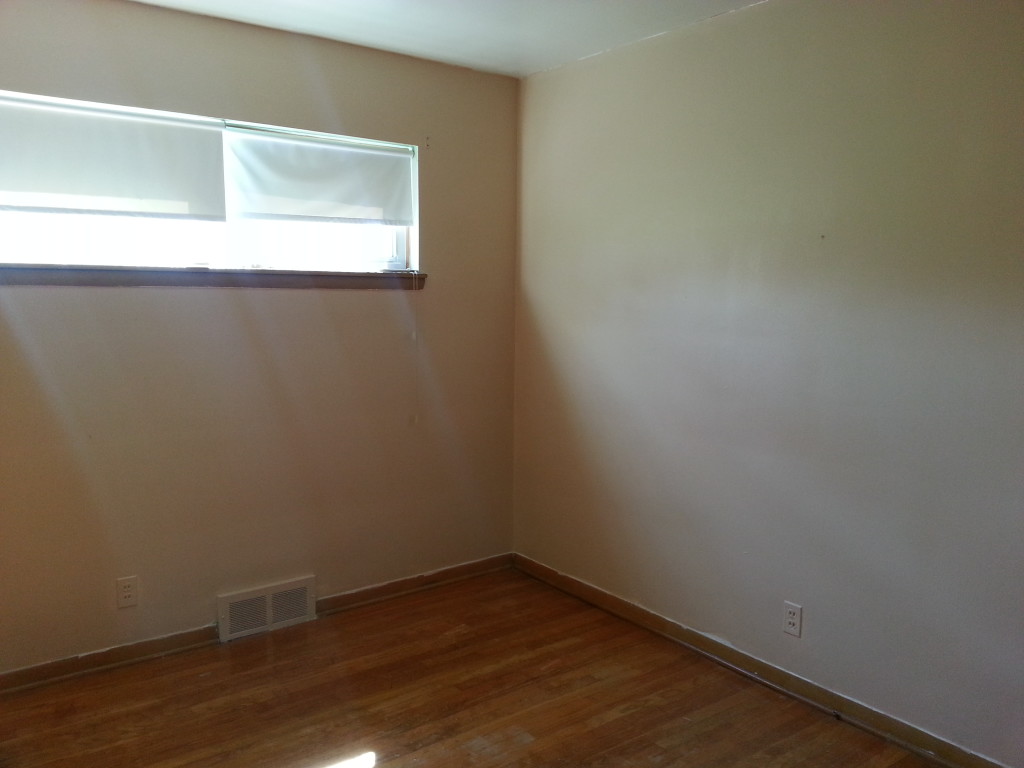
Craft room:

Spare room:

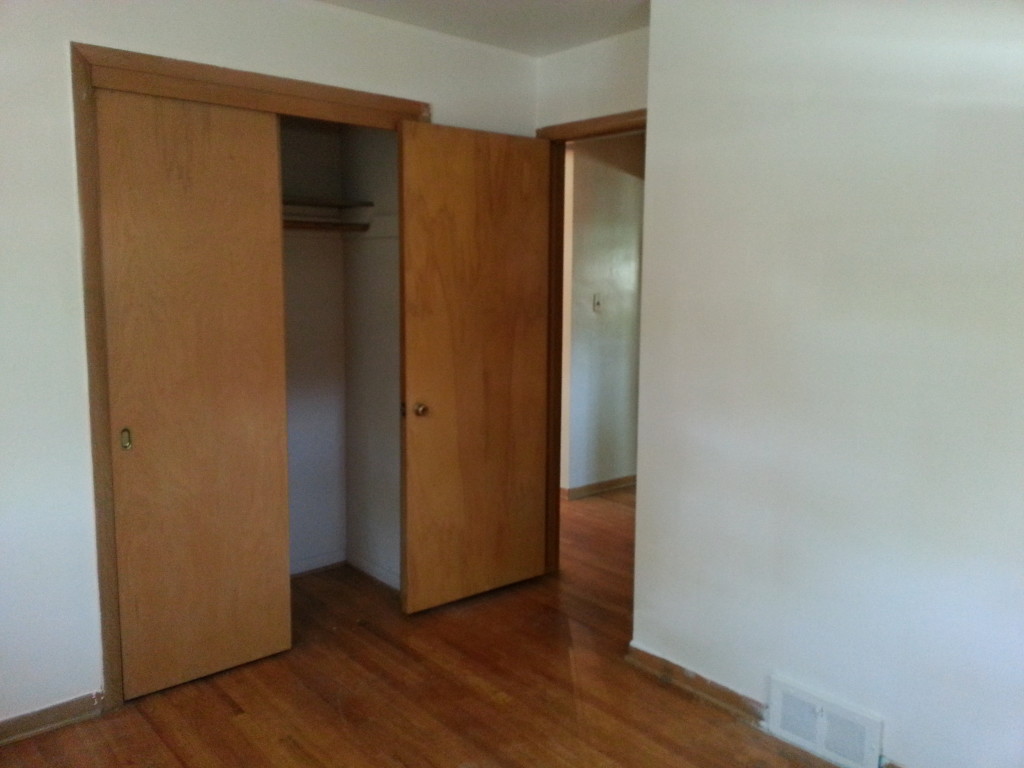
Basement:

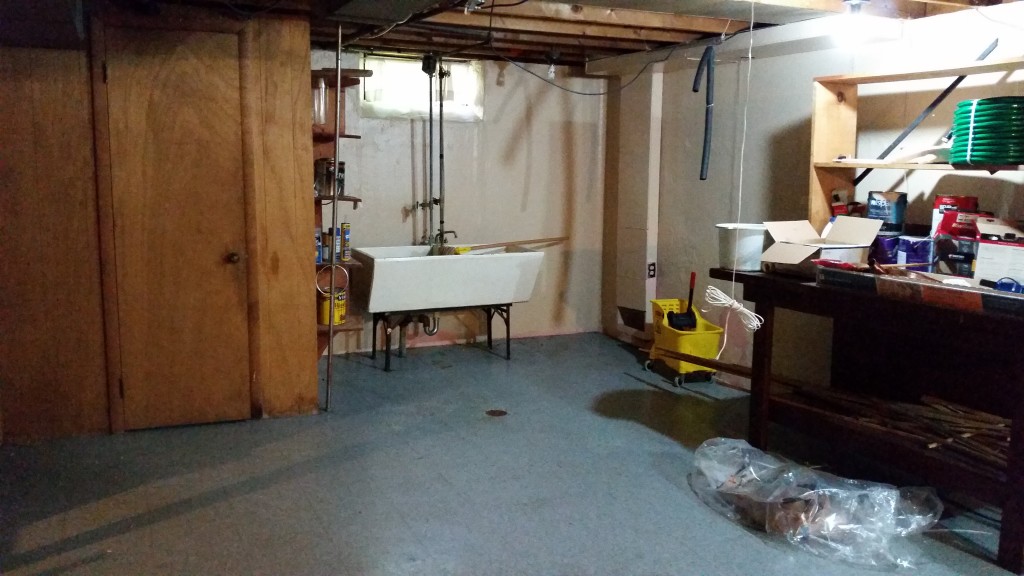

Backyard:

Driveway and Garage:

What do you think? Stay tuned for many, many updates!
Jul 06
A few days before closing, we headed over to Lowes to buy doorknobs and get some paint swatches so we could get an idea of our color scheme before closing, and all we could find in paint swatches in the HGTV Sherwin Williams colors, which are great, but I could only find one of the colors (plus, the name and number were at the bottom of the swatch and impossible to see which made it super frustrating). We decided to head over to the Sherwin Williams store because we knew they would have a bigger assortment of swatches and I might have better luck finding the colors that I’d chosen.
When we got there, we ended up changing the whole thing. After pulling swatches for Grassland and Cascade Green, then finding a book with Blue Peacock in it, I realized that we had way too much green and not nearly enough blue. After pulling a few more swatches, we ended up with this, which I like a whole lot better:

And here’s how it looks on the floorplan:
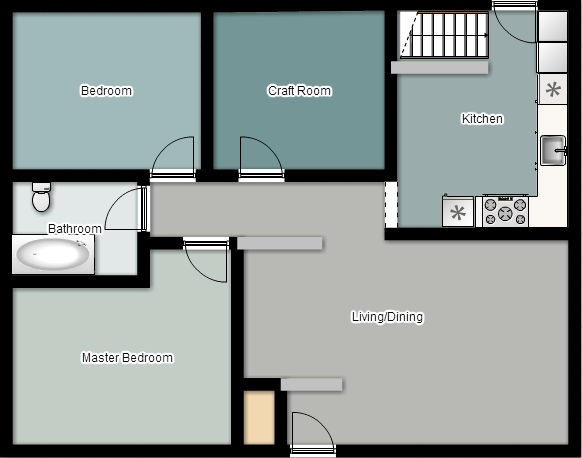
The colors look closer on the computer than they read in real life. They’re all bluish-greenish colors, which I love, and the color scheme keep it cohesive throughout the house, which is the most important part. Now, the trick is to get it all on the walls!
So, tell me what you think. Is it better than the last one?
Jun 29
One of our first projects (after a through scrubbing) planned for our new house is painting all of the rooms. I spent a lot of time before closing picking out a whole-house color scheme that would be cohesive and make the house look bigger.
I started with a floor plan that I built with the help of floorplanner.com, the MLS listing room sizes, and my poor memory. I plan to re-do the floor plan soon with real measurements, but this worked out for what I needed at the time, which was colors!
We still have to get some test pots and paint some test patches on the walls to be sure these are the exact colors that we want, but with the help of the Sherwin Williams and Benjamin Moore websites, this is what I came up with:I
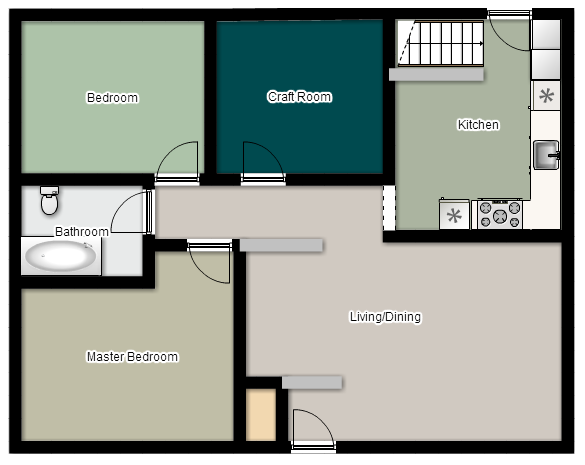
Husband was happy and loves the craft room color, so as long as these look good on the walls, we’ll be painting soon!
And here is the palette so that we can all keep track!

So tell me, what’s your favorite color scheme? What would you change about my palette? What do you think?
Jun 22
There are photos in this post that are blurred out for the homeowner’s privacy.
Long, long ago, in a galaxy far far away way back in September, before Chris and I got married, we tried to buy a house. It didn’t go well.
After putting in our offer and getting it accepted, it turned out that the house was a short sale, and there was no approval yet, but the listing agent that it would only be 30-60 days for approval. I was ok with it, and spent a lot of time creating my whole house list of changes that I wanted to make, but long story short, 6 months and 3 days later, the bank decided that they wanted $20,000 more than the house appraised for, so we didn’t buy it.

So we started over. We went house shopping a week later, and found a house that we liked and put an offer in on – and the seller just said no. So we moved on to an amazing, tank of a house that was bigger than all the rest and priced really well. The house was all cinder block construction with wet plaster walls and a huge yard. It was a foreclosure, and had a few things that needed to be repaired according to the city, but nothing that would be too difficult. We put in an offer, which was accepted right away, and scheduled our inspection!
Let’s just say it also didn’t end well. We weren’t even in the house for 15 minutes before the inspectors called me into the basement to point out the floor to ceiling mold that was all over the walls and rafters in the basement. The culprit was most likely the sauna and shower in the basement, but we didn’t bother finishing the inspection. We withdrew our offer and moved on.

Three days later, we went back out to shop and actually found three houses that we liked, put in an offer on one, and it was accepted! Our inspection revealed a few things that we need to fix, and the city required a few repairs before closing, but we were mostly patient, waited it out, and now I can finally say… we bought a house!
![]()
What should you expect now? I’ll share my un-blurred “before” photos, our whole house list, and a ton of our DIY projects! We have so, so much to do to make this house what we want it to be, since it’s extremely outdated, so welcome to the journey!